Coding with the Tiles
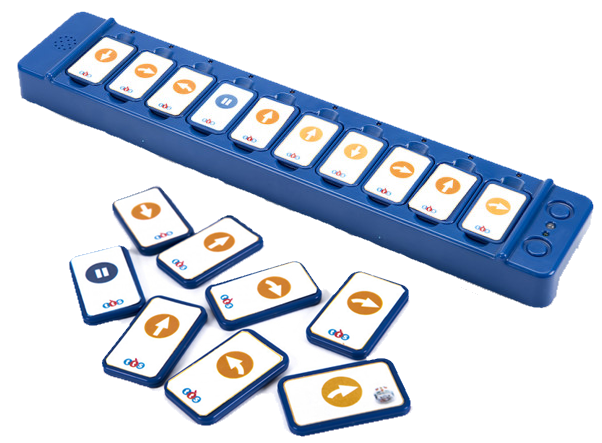
Each TacTile Code Reader comes with 25 tiles.
- 8 Forward tiles
- 8 Back tiles
- 4 Left turn tiles
- 4 Right turn tiles
- 1 Pause tile
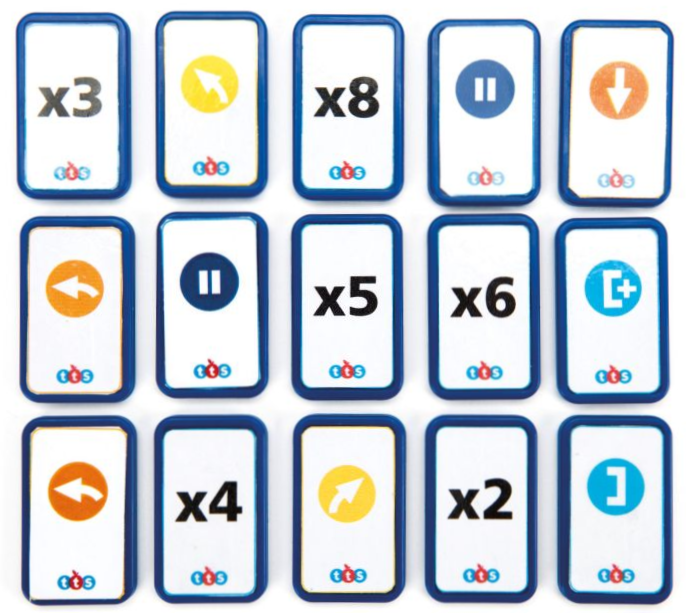
The Extension Pack offers additional tiles to expand the capabilities of the TacTile Code Reader. It contains:
- 4 45°-degree left turn tiles
- 4 45°-degree right turn tiles
- 3 Open repeat bracket tiles
[+ - 3 Close repeat bracket tiles
] - 2 Pause tiles
- 8 Repeat tiles: 2x (2), 3x (1), 4x (2), 6x (2), and 8x (2) tiles to specify the number of times to repeat code inside the brackets.
Each tile offers both vertical (portrait) and horizontal (landscape) orientations.
Flip a tile over to see the alternate orientation.
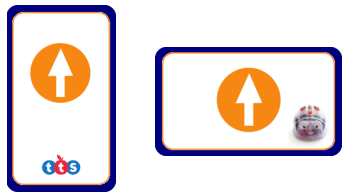
These orientations allow students to position the TacTile Code Reader either horizontally or vertically in the TacTile Code Reader. Note that a forward tile sends a forward command to the robot, regardless of how it is positioned in the TacTile Code Reader.
If tiles are changed after the Send button is pressed, the robot still follows the original program that was sent to it.
Have students start with just a few tiles so they can see how the tiles send commands to Bee-Bot or Tuff-Bot.
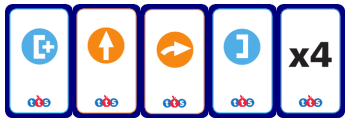
The example below would make Blue-Bot or Tuff-Bot move forward 1 square, turn 90° right, and repeat that sequence 4 times. This code would make robot move in a square shape.
Constructing a program
Each TacTile Code Reader has positions for up to 10 tiles. To construct a program, students place the direction tiles in the desired order. A red LED will light above each tile position to show that the TacTile Code Reader has recognized the tile.
When the program is complete, press the Send button, which transmits the code to the robot. To help debug the program, an LED will light above the tile that is currently being executed.
When all the program steps have been completed, students can modify or debug the program by changing the tiles or positions.